It’s 5 days until Halloween, and it’s about time to start carving pumpkins. Since Eric and I already went pumpkin picking, we decided to carve them as well.
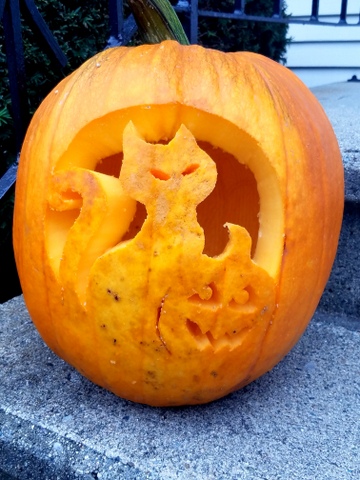
I’ve never actually carved a pumpkin myself, since I almost sliced my hand off last time I tried doing it. But using a pattern (for me) was very helpful. I chose something more traditional, but also close to my heart, a cat. In case you didn’t already know, I have 4 of them.
Eric however, didn’t use a pattern, he drew his own, going for a more nerdy feel with the Deathly Hallows, which I wholeheartedly support. He also borrowed his friend Dustin (see the end of the post for his details), to help out with the process.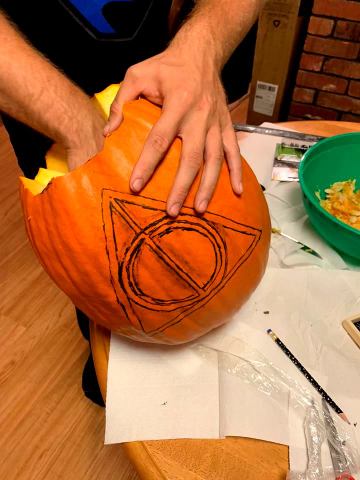
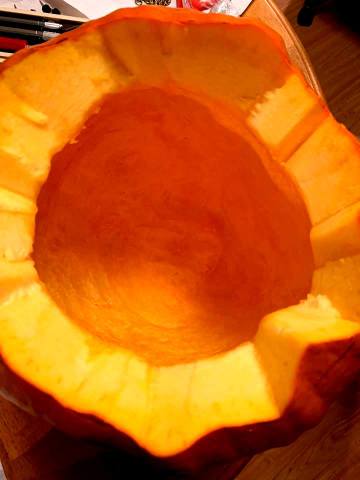
Carving pumpkins can be hard work. First you cut off the top, or the bottom, and scoop out all the seeds. Then you scrape down the side that you are carving. Once that is done, you either draw the pattern on, or use a pre-made pattern. I used the little plastic knives that came with the pumpkin pattern, but any serrated knife will do really.
You should start with the smallest most delicate pieces. Wait until the end to pop out the cut pieces as well. Oh, and pop them out from the inside! But most of all, you should have fun when you carve your pumpkin! Even if you’re not planning on keeping the pumpkin, you should have SO much fun with it.
Don’t forget to get all the pumpkin goop off the seeds, wash them, and then season with a drizzle of oil and sea salt, and then roast for 15-20 minutes at 300F.
Enjoy your pumpkins this Halloween!

Credit to:
@akysora
Instagram: Dustinklc